The model making industry has a wide variety of specialisms one of which is architectural model making. From my experience, architectural models are usually made at either independent companies with such specialism, such as Pipers, or at architectural practices, like Foster + Partners, who have an in house modelshop for their own use.
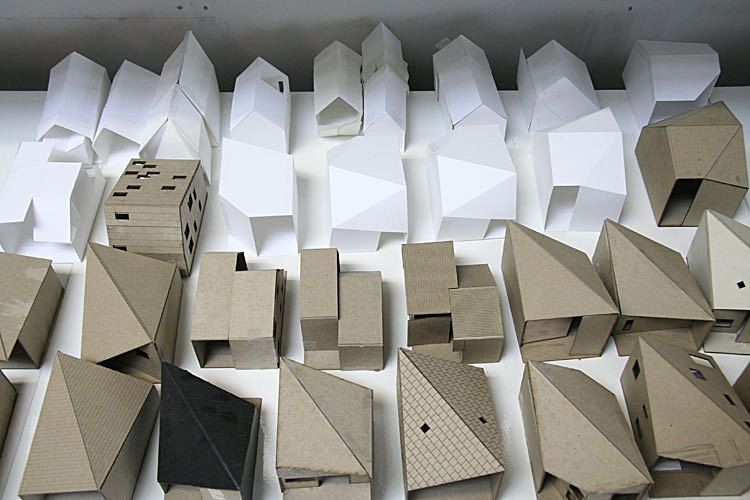
There are different types of models depending on their required purpose and some are less likely to be made at independent companies than in-house modelshops. Modelshops at architectural practices aren’t always set up to bring a massive amount of profit to the company, instead it’s there to be used as a development tool for the architects. As a result, sketch models, which are made of inexpensive materials to show basic massing at the early stages of the design, are quite common. Once the design is more refined, design and development models start to make an appearance which are a lot more detailed and often explore the colour scheme, materials, and the building layout. Cross section, bay and façade models are particularly useful at this stage.
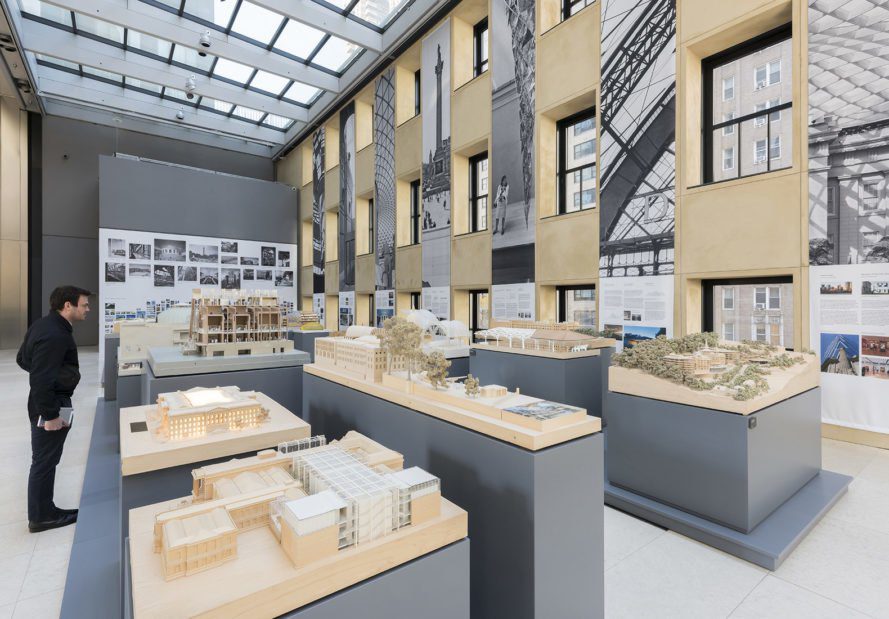
Only when the design is finalised or the building is under construction will display models be made, either for the client or the practice itself. That’s also the type of model that the independent companies would gravitate towards as they are the most profitable. That said, different projects may have different needs but that’s usually the breakdown.
The one exception to the rule is contest models which sometimes win practices jobs. In those situations, the design is rarely finalised, it’s just an idea that gets submitted and then later defined if the competition is won. It’s not uncommon for smaller architectural practices to outsource their models as sometimes they are needed for yesterday and the in-house team/machinery may not be sufficient to deliver it on time.
The turnaround of models varies depending on multiple factors such as the scale, scope, materials/techniques requested, CAD provided and proposed deadline. At an in-house modelshop architects are readily available and in person consolations are possible at any time as opposed to external clients who may be more difficult to get hold.
Unlike independent modelshops who may have a style but more often cater to the clients’ requests, in-house modelshops usually have a signature style which includes selected materials and a colour palette that reflects their brand.
For example, Foster + Partners clad most of their bases in Maple/Lime veneer and have a range of specifically custom-made foliage, majority of which are different shades of green. On the other hand, Howells opts for a more natural look with plywood bases and sometimes opting for cork foliage. The specifications and requirements of the model are always discussed before the making process begins, often accompanied with samples that are signed off or rejected by the client/ architects.
Travel is also something that must be taken into consideration when deciding how a model will be made. If the model is flying, model makers have to work around size and weight restrictions. An easy way to adjust the weight of a model is reevaluating the materials used for the base. For example, instead of using MDF or Plywood, Foamex is a light and pretty durable alternative.
Once all the details for the model have been agreed on it’s time to start working on the 3D model, which is a crucial point in any project. A lot of the time the quality of the CAD defines how long a model will take to make. Often clients/ architects use different software than the modelshop. For example, architects often use Revit and Sketchup as opposed to Rhino or AutoCAD which are the preferred options for architectural model making. This means when the files are imported, they need some general clean up and fixing.
Assuming that the interior isn’t being made, deleting it reduces the file size and ensures that it’s easier to work with. More often than not, objects import into Rhino as block instances meaning they have to be exploded and if they aren’t already on separate layers, it can become quite difficult to differentiate between components.
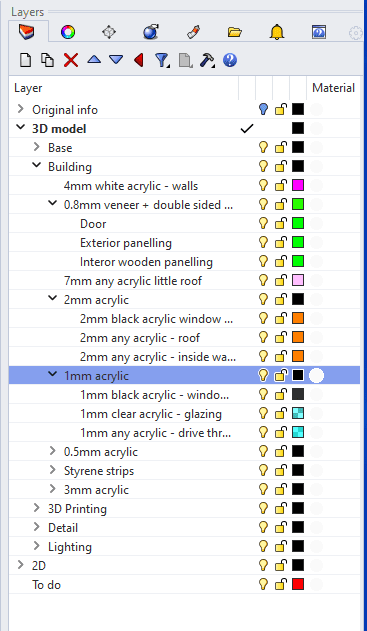
For that reason, it’s a good practice to spend some time organizing the original file into layers according to its components. Not only do you familiarize yourself with the design, but it also gives you more control over the model.
Now that the scale is decided on, the model can be scaled down to the agreed size. It’s common that the building would be redrawn with materials, its thicknesses, and any particular processes in mind. For example, a common way of attaching floors to elevations is via tabs.
While some extract information straight from the scaled down model, personally, I find redrawing it very useful as it gives me control over how components interact. Colour coding according to materials and sizes provides a useful visual reference.
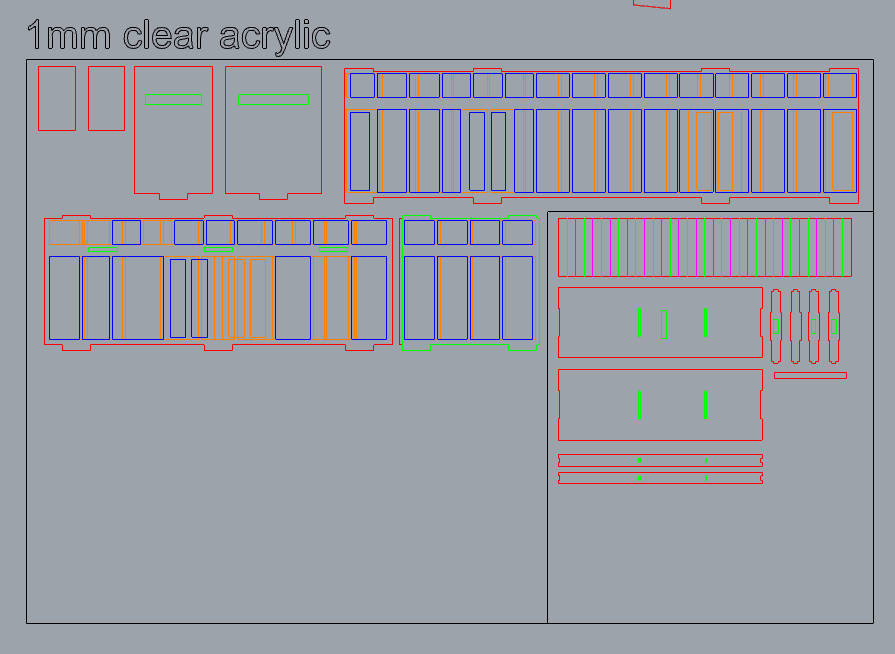
Now, the 2D information can be extracted and if being lasercut arranged to fit the size of the bed or material that it’s going to be cut from.
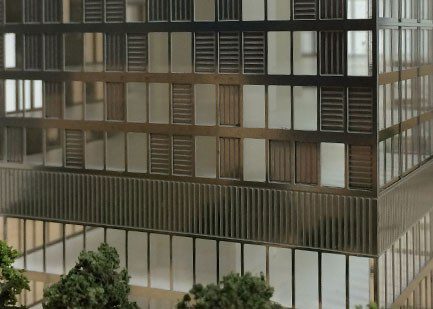
Architectural models are usually made from acrylic as it comes in a variety of colours and thicknesses, the smallest available being 0.2mm. It’s also a sturdy material that is very easy to lasercut, a process that is used very often. Foamex, fin board, card and veneer is also used as well as MDF and plywood which is usually reserved for bases. Metal etching, although expensive, is very useful for delicate details such a balconies, railings, or chunkier components such as window frames. In more elaborate models metal etching can also be used for the facades of buildings
When laser cutting, it’s quite important that depending on what you want to do you change colour of your now 2D components. You are free to use any colours you like but remember what they mean, be it engraving or etching.
Engraving and etching is a very useful process to showcase detail. For example, at in-house modelshops veneer is often used for the landscape meaning depending on the setting used, areas such as roads or parks can be etched with a different result.
Etching and engraving also comes handy when small details need to be included such as window bullion. Once engraved, the lines or area can be paint rubbed to bring out the detail.
When laser cutting, it’s always a good idea to think ahead especially when it comes to spray painting afterwards. Masking your material before cutting enables you to have control over which parts get painted in what order.
A range of spray cans as well as premixed Lechler paints are usually used to paint the models. Effects, such as stone, are achieved through speckling, be it with a spray gun or a specialised spray can nozzles.
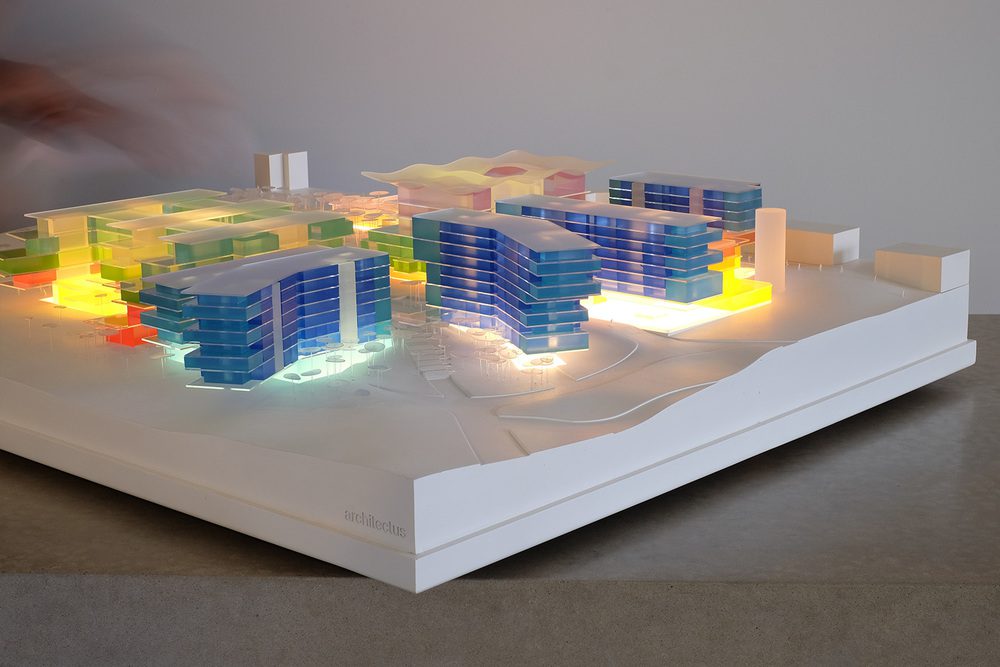
An even paint coverage is particularly important when there’s lighting involved. Blotches and light spilling are to be avoided so often the inside of the building, where possible, is covered with metal tape.
Depending on the purpose, LED strips or individual LEDs are installed. For example, if the aim is to illuminate the entire building at once, a core with a wrapped LED strip around it is made to be inserted when the model is put together. In the more complex models where the client/ architect wants to differentiate apartments or certain areas, it’s common to colour code the lights and/or write a specific code for the needs of the model. This can then be controlled with a remote or buttons installed on the base.
During assembly, precision blocks and engineers square are very useful to ensure things are straight and square. They are also a good tool to keep things in place or weigh it down when components are being glued.
The main 4 glues that are very useful for architectural model making are emulsion, a flexible glue that dries clear, dichloromethane for acrylics, PVA and super glue. I recommend Zap-a-gap because it’s available in different viscosities depending on what you are trying to glue together. Nozzles with different gauges are also very useful as they give you control over the amount of adhesive coming out of the bottle and allows the glue to be deposited in otherwise difficult to reach places.
For veneers, double sided tape or contact adhesive are good options. The advantage to double sided tape is that you can stick it on veneer before laser cutting and then you can stick it on straight onto your model. On the other hand, contact adhesive takes some time to dry but can provide a stronger and more lasting adhesion.
3D printing is very common in architectural model making, particularly SLA and SLS due to its relatively smooth and high quality finish. FDM is usually avoided as the layers are quite visible and take a while to sand out.
There’s a variety of softwares that aids in preparing 3D files for printing. A lot of the time 3D printers come with their own software e.g. Ultimaker and Cura, however, there are independent softwares such as Materialise Magics. That said, the softwares are usually quite interchangeable across different printers, not always as different types of prints require different support structures etc. but it is a possibility.
3D printing in architectural models is used for a wide range of components, starting with furniture, more complex building elements or the whole building itself. Usually done as an SLS print, bay or small scale models can be 3D printed quickly to aid in the development of the design if one isn’t particularly bothered about detail or finishes.
This is also the case for models such masterplans where the surrounding context doesn’t need to be detailed, and so they are simplified and printed off as blocks on SLS printers. The alternative to that is cutting an extrusion of te shape on the circle saw, usually from maple, walnut, or cherry, and then cutting it into pieces based on the desired shape. A few different extrusions are usually made to have a variety of shapes and while it might not be exactly accurate to the reality, it is a lot faster than cutting each little building separately, especially for the smaller scaled models.
Bigger conceptual scheme models are often made from acrylic blocks which are made in a similar way to wooden extrusions. They are then sanded, left frosted or polished on the polishing wheel. This method is particularly used for glass towers and skyscrapers. Additional detail can be obtained by engraving lines onto the block on the laser and either leaving it as it is or paint rubbing the grooves as mentioned above.
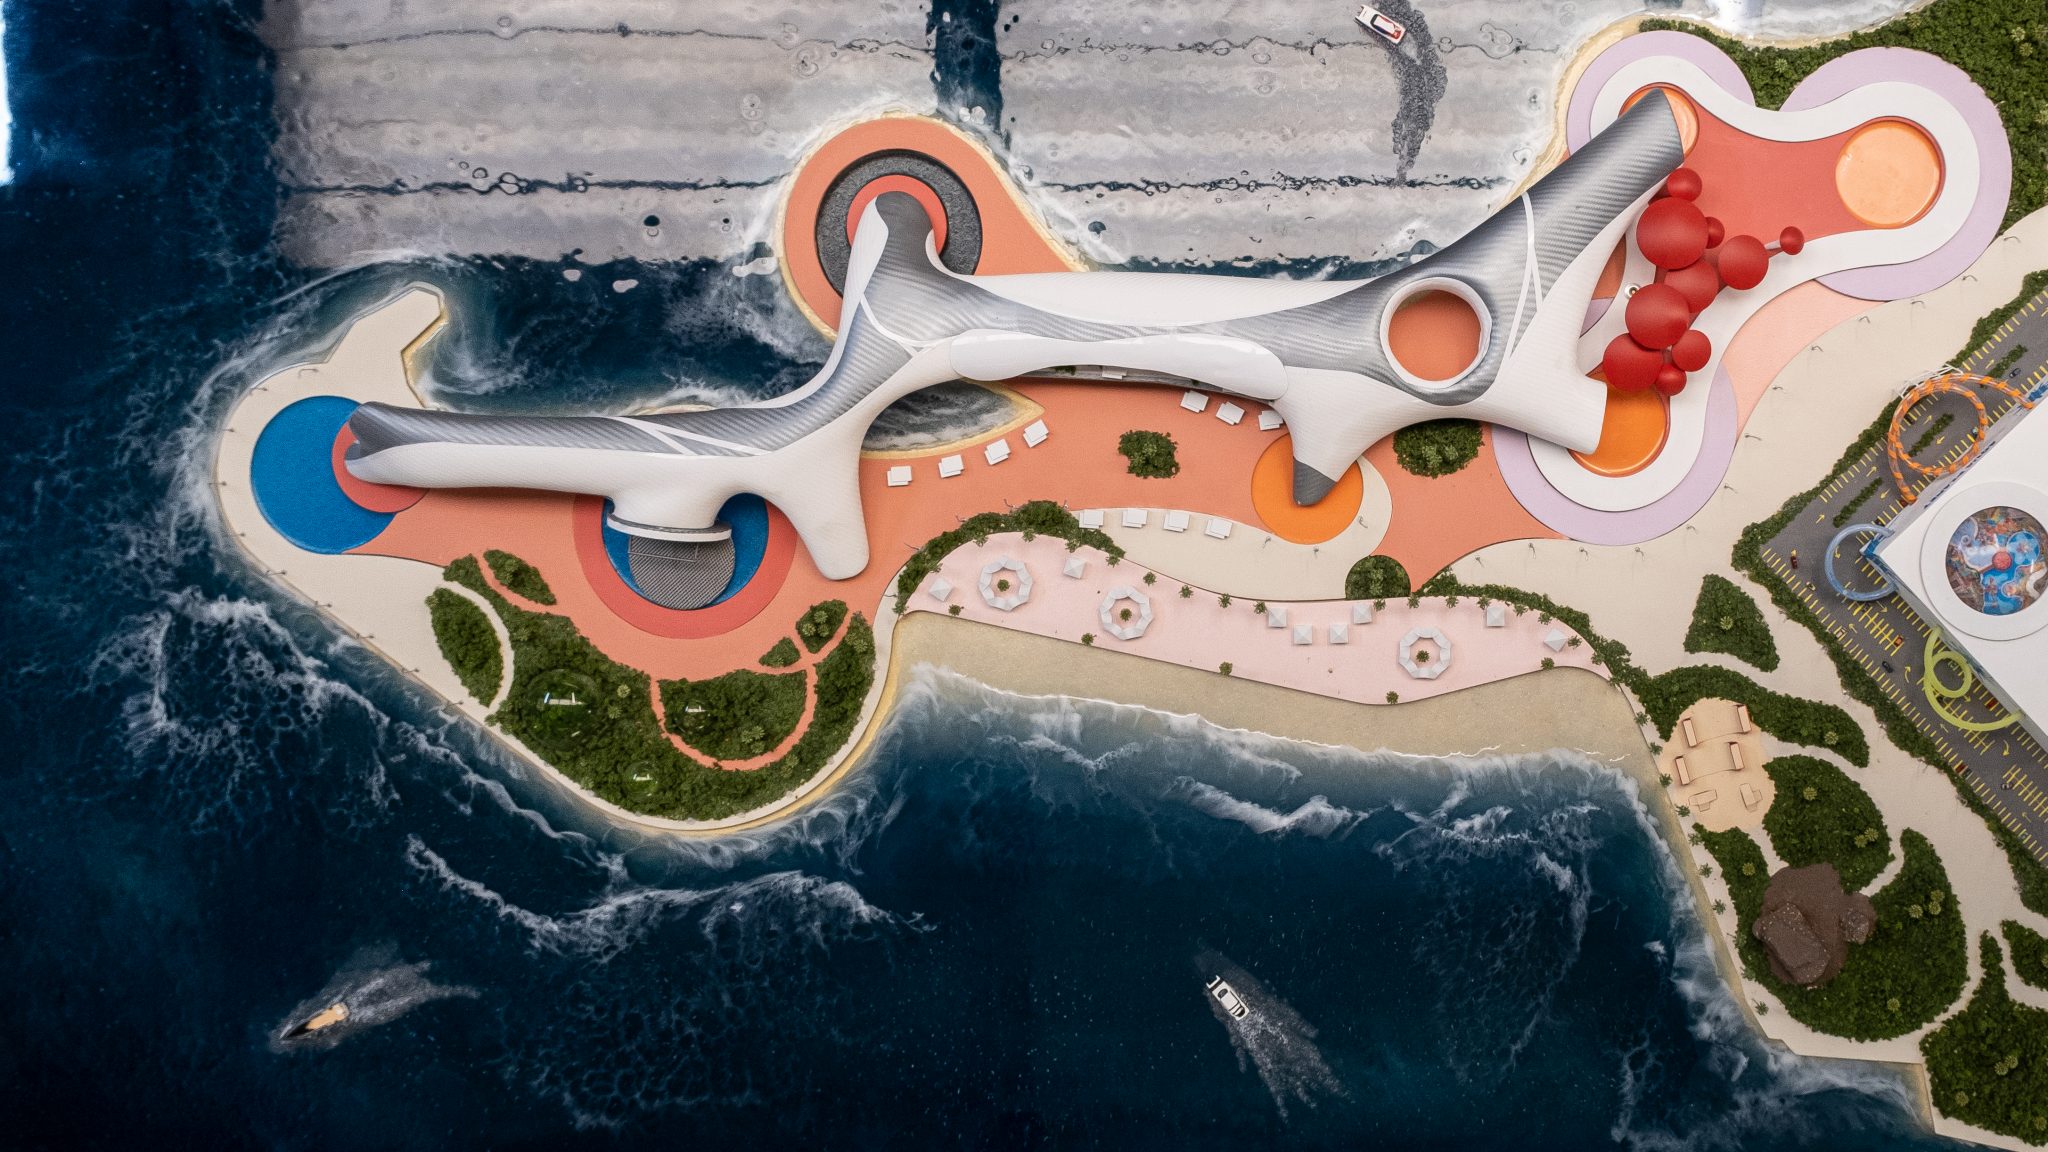
Finally, it’s time for foliage and animation. Landscaping styles vary across practices and companies. Some prefer to opt for the classic green trees and flock/texture effect and others go for a more conceptual look. This involves using a variety of different veneers/ cork and cork trees. That said, some companies go very conceptual as to even make trees out of stones or copper wire.
Sometimes for a more delicate green grass effect maple veneer is spray painted with a highly thinned down green paint. It’s usually preferred to flock/texture at architectural practices as it’s cleaner and more refined.
Figures are usually painted white or silver unless the model is focusing on showcasing the movement of people in which case, they might be colour coded. On the bigger scale models silhouettes of people are laser cut out of acrylic. These and the smaller figures can be stuck straight onto the base or stuck onto a disk that would allow to move them around without them falling over.
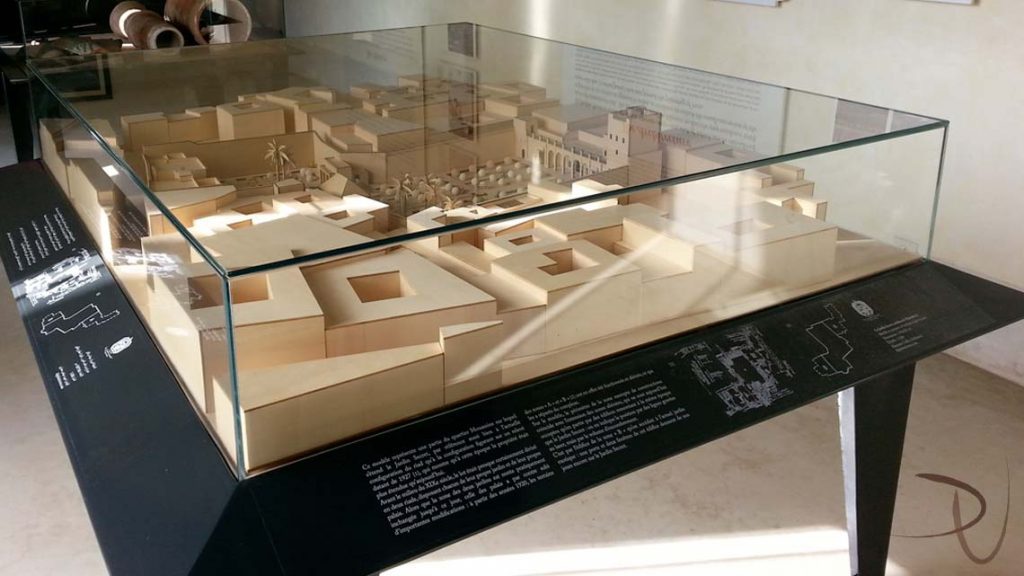
Finished models are usually covered with an acrylic case to prevent from dust. Some are balanced on a flange to allow easy access to the model while other are drilled straight into the side of the base.